RackHD is an open source project from DellEMC Code. The goal is to provide hardware management and orchestration. In order to achieve this goal, RackHD uses standard out of band management protocols.
To help you get started, the documentation provides some brief tutorials. When using a Windows system. You will notice a few items in the tutorial don’;t quite line up. Hopefully, this will help fill in the those gaps.
Initial Setup
We will step through initial setup on a Windows system. As there are a few commands in the tutorial, which are not available.
Before starting, you will need to have the following installed:
- git
- VirtialBox
- Vagrant
- PuttyGen
To begin with, clone the git repository using the command
| |
To get things moving we create the Vagrant instance. Using PowerShell (or CMD) navigate to RackHD\Example. In order to create the Vagrant instance run the following command:
| |
Vagrant creates the VM with the latest configuration at the time.
Shortly after, the VM is created and booted. Vagrant provides the following output:
As we are on a Windows system. The command
| |
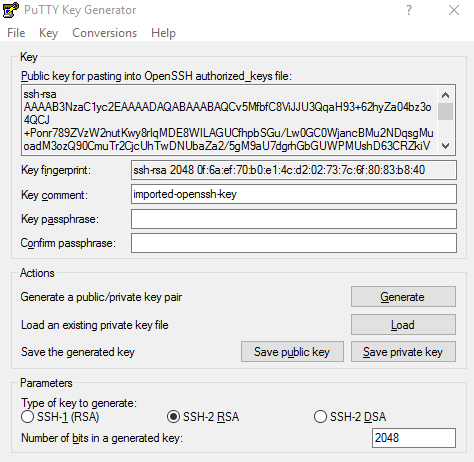
fails. In order to run the command, we will need to SSH to the VM. The first step is to generate a private key in a usable format.
Using PuttyGen, load the file private_key as per the Vagrant output. Click “Save Private Key”.
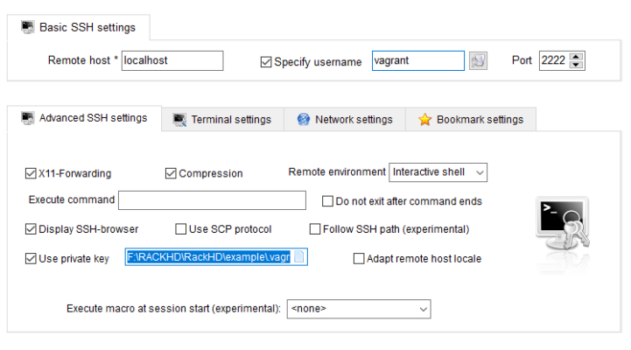
Following actions may vary depending on your terminal emulator. But the information required is the same.
- Hostname: localhost
- Port: 2222
- Username: vagrant
- Auth: Use private key
Using MobaXterm, the configuration looks like
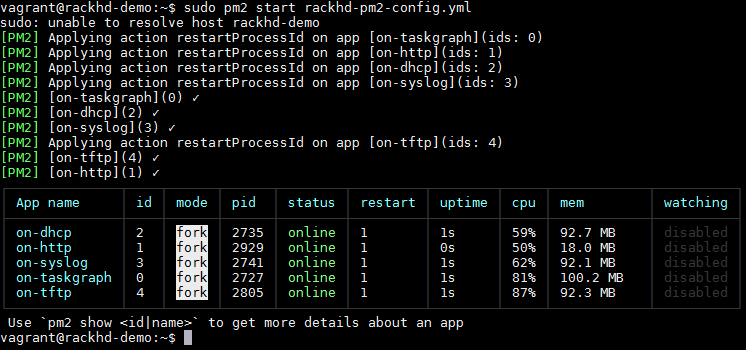
Now that you’;re connected to the VM by SSH. Run the following:
| |
I noticed that I did need to run this twice.
Now the services are up, we can now start.
Summary
The steps provided in the documentation tutorial work will for Linux and OSX. However, if you would like to run RackHD on a Windows system. There are a couple of small extra steps to perform.
The next post will cover using Postman to interact with RackHD by API.


